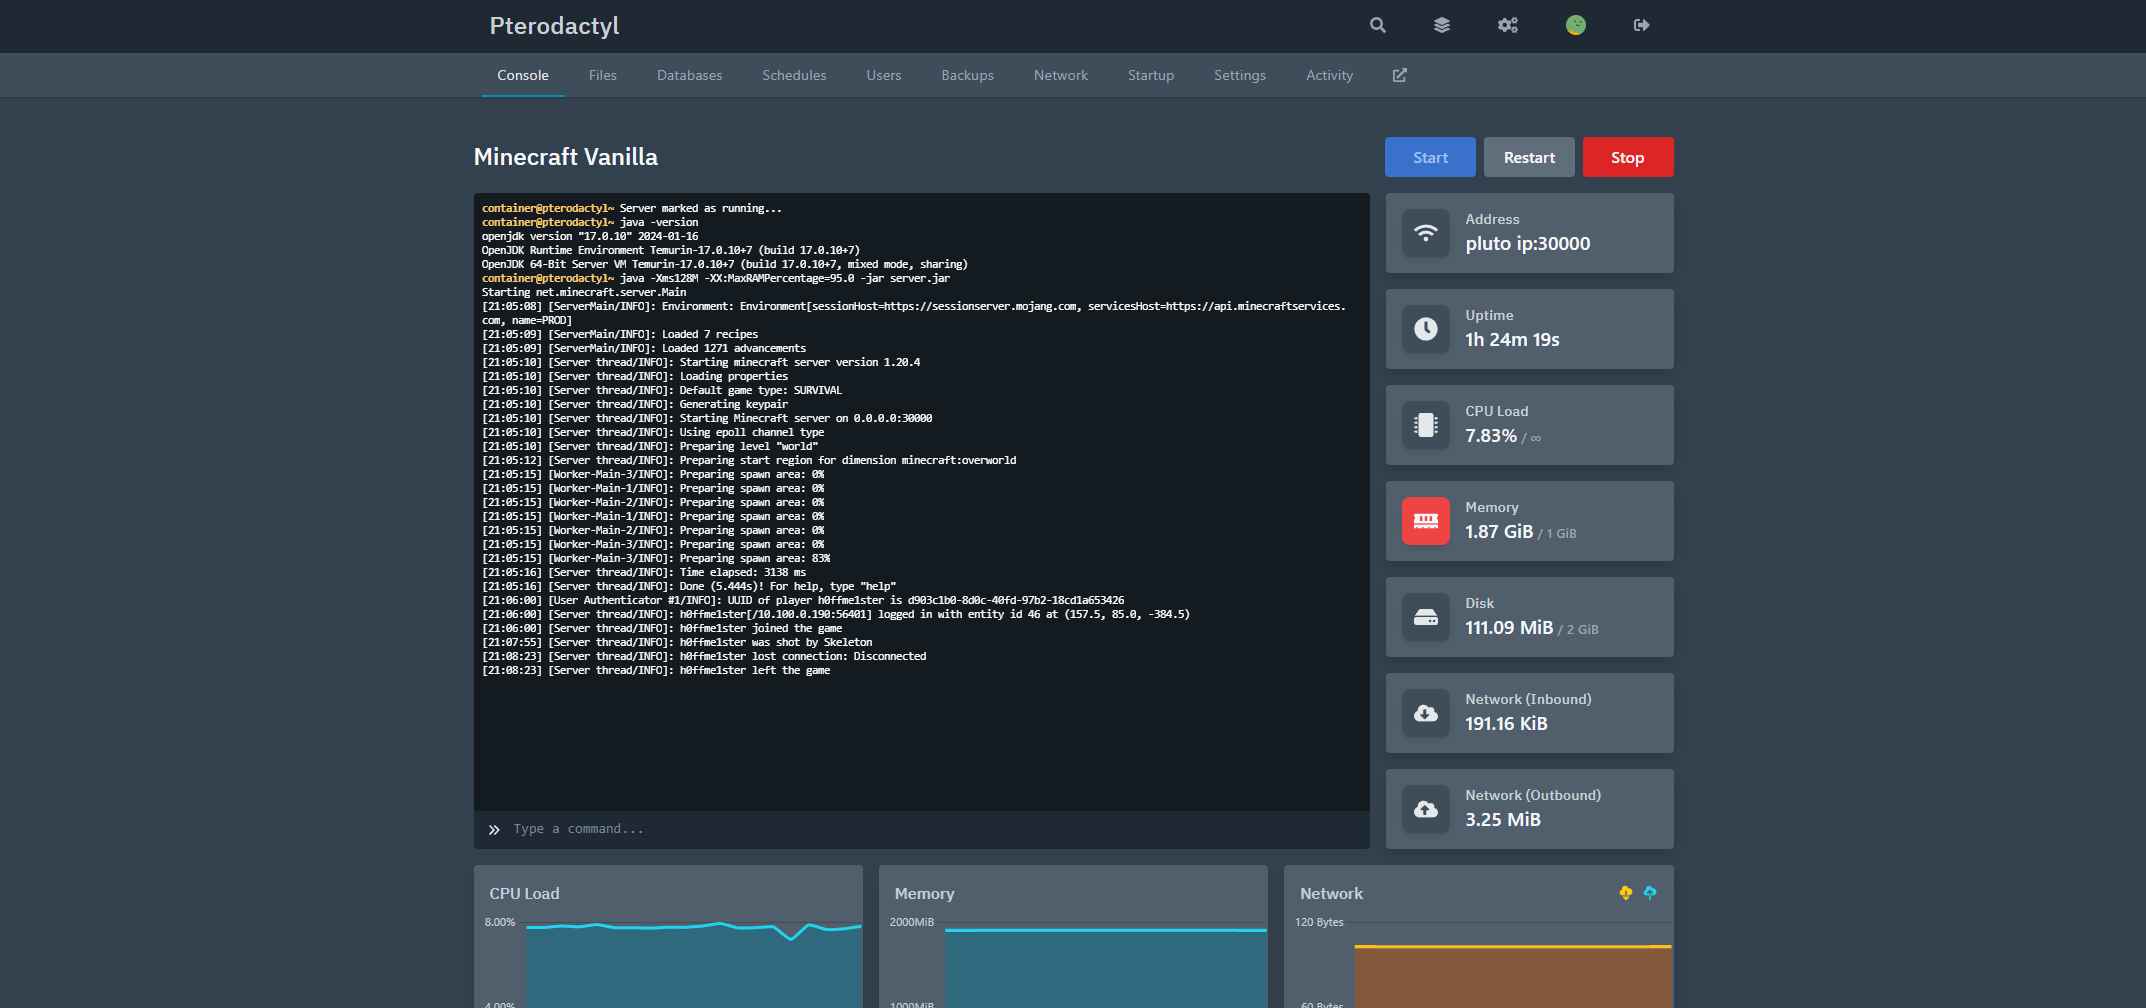
If you like hosting your own games servers, this article will show you how to do so with Pterodactyl and Docker. Previously I posted about building a Minecraft server, but I wanted to be able to host multiple games at the same time, with a reliable way to manage them. There are notable alternatives to this method, such as AMP by CubeCoders, so why Pterodactyl?
Pterodactyl is open source and free. It is built with PHP, React, and Go and all the games servers run in isolated Docker containers. I also run Pterodactyl itself inside a set of Docker containers.
The core games supported by Pterodactyl are:
- Minecraft — including Spigot, Sponge, Bungeecord, Waterfall, and more
- Rust
- Terraria
- Teamspeak
- Mumble
- Team Fortress 2
- Counter Strike: Global Offensive
- Garry’s Mod
- ARK: Survival Evolved
Architecture
This guide will deploy the following topology:

I’m using a single server to host everything, and it will all be in Docker containers. There will be three containers – Panel, Wings and a Minecraft Server. I’m starting with a clean Ubuntu 22.04.4 LTS install.
Pterodactyl has some interesting terminology so I’ll try and describe it:

Starting from the top, is Panel – this is the main admin GUI where everything is configured.
We then have nodes. Nodes are servers that will ultimately run the game. A Panel can manage a number of nodes and nodes can be different servers.
A node can have a number of game servers. Nests are the games such as Minecraft, Rust or Terraria.
Eggs are types of games and configuration and there is usually more than one. For Minecraft, its eggs would be Bedrock, Vanilla, Paper etc.
Finally there are yolks. These are the actual Docker containers that will run the game server.
Install Docker
If you don’t have Docker installed, you’ll need to do that first. If you are using Ubuntu Server like me, see my guide.
Install Pterodactyl Panel
We need to install the Pterodactyl Panel component. In your home directory, run the following commands:
mkdir containerscd containersmkdir pterodactylcd pterodactylmkdir panelcd panelvi docker-compose.ymlInsert the following in the compose file, changing the relevant variables:
version: '3.8'x-common: database: &db-environment # Do not remove the "&db-password" from the end of the line below, it is important # for Panel functionality. MYSQL_PASSWORD: &db-password "MY_DB_PASSWORD" MYSQL_ROOT_PASSWORD: "MY_DB_ROOT_PASSWORD" panel: &panel-environment # This URL should be the URL that your reverse proxy routes to the panel server APP_URL: "https://mysubdomain.mydomain.com" # A list of valid timezones can be found here: http://php.net/manual/en/timezones.php APP_TIMEZONE: "UTC" APP_SERVICE_AUTHOR: "[email protected]" TRUSTED_PROXIES: "*" # Set this to your proxy IP # Uncomment the line below and set to a non-empty value if you want to use Let's Encrypt # to generate an SSL certificate for the Panel. # LE_EMAIL: "" mail: &mail-environment MAIL_FROM: "[email protected]" MAIL_DRIVER: "smtp" MAIL_HOST: "mail" MAIL_PORT: "1025" MAIL_USERNAME: "" MAIL_PASSWORD: "" MAIL_ENCRYPTION: "true"## ------------------------------------------------------------------------------------------# DANGER ZONE BELOW## The remainder of this file likely does not need to be changed. Please only make modifications# below if you understand what you are doing.#services: database: image: mariadb:10.5 restart: always command: --default-authentication-plugin=mysql_native_password volumes: - "/srv/pterodactyl/database:/var/lib/mysql" environment: <<: *db-environment MYSQL_DATABASE: "panel" MYSQL_USER: "pterodactyl" cache: image: redis:alpine restart: always panel: image: ghcr.io/pterodactyl/panel:latest restart: always ports: - "80:80" - "443:443" links: - database - cache volumes: - "/srv/pterodactyl/var/:/app/var/" - "/srv/pterodactyl/nginx/:/etc/nginx/http.d/" - "/srv/pterodactyl/certs/:/etc/letsencrypt/" - "/srv/pterodactyl/logs/:/app/storage/logs" environment: <<: [*panel-environment, *mail-environment] DB_PASSWORD: *db-password APP_ENV: "production" APP_ENVIRONMENT_ONLY: "false" CACHE_DRIVER: "redis" SESSION_DRIVER: "redis" QUEUE_DRIVER: "redis" REDIS_HOST: "cache" DB_HOST: "database" DB_PORT: "3306"networks: default: ipam: config: - subnet: 172.21.0.0/16Lets bring the containers up:
docker compose up -dInitially you should see:
[+] Running 0/3 ⠦ database Pulling 9.7s ⠦ cache Pulling 9.7s ⠦ panel Pulling 9.7sIf all goes well, all containers should start:
[+] Running 3/4 ⠸ Network panel_default Created 2.3s ✔ Container panel-database-1 Started 2.0s ✔ Container panel-cache-1 Started 2.0s ✔ Container panel-panel-1 Started 0.8sYou should now be able to reach the Pterodactyl panel web interface by going to the APP_URL configured in your compose file:

So far so good, but we can’t do anything yet. We now need to create a user:
docker compose run --rm panel php artisan p:user:makeThe output should be similar to the below. When prompted, add the values relevant to you. Please note you need this user to be an administrator in Pterodactyl so answer yes to that:
[+] Creating 2/0 ✔ Container panel-cache-1 Running 0.0s ✔ Container panel-database-1 Running 0.0sln: /var/log/panel/logs: File existsexternal vars exist.Checking if https is required.Using nginx config already in place.No letsencrypt email is setChecking database status.database (172.18.0.2:3306) openMigrating and Seeding D.B INFO Nothing to migrate. INFO Seeding database. Database\Seeders\NestSeeder ........................................ RUNNING Database\Seeders\NestSeeder ................................... 1.74 ms DONE Database\Seeders\EggSeeder ......................................... RUNNING********************************************** Updating Eggs for Nest: Minecraft **********************************************Updated Sponge (SpongeVanilla)Updated Forge MinecraftUpdated BungeecordUpdated Vanilla MinecraftUpdated Paper************************************************** Updating Eggs for Nest: Source Engine **************************************************Updated Ark: Survival EvolvedUpdated Custom Source Engine GameUpdated Counter-Strike: Global OffensiveUpdated Garrys ModUpdated Team Fortress 2Updated Insurgency************************************************** Updating Eggs for Nest: Voice Servers **************************************************Updated Teamspeak3 ServerUpdated Mumble Server***************************************** Updating Eggs for Nest: Rust *****************************************Updated Rust Database\Seeders\EggSeeder .................................. 173.36 ms DONEStarting cron jobs.Starting supervisord. Is this user an administrator? (yes/no) [no]: > yes Email Address: > [email protected] Username: > yourusername First Name: > yourfirstname Last Name: > yourlastnamePasswords must be at least 8 characters in length and contain at least one capital letter and number.If you would like to create an account with a random password emailed to the user, re-run this command (CTRL+C) and pass the `--no-password` flag. Password: >+----------+--------------------------------------+| Field | Value |+----------+--------------------------------------+| UUID | 8818e491-9c7d-4501-b1b5-85a38e5e9b94 || Email | [email protected] || Username | yourusername || Name | yourfirstname yourlastname || Admin | yes |+----------+--------------------------------------+You should now be able to log in to the Pterodactyl web interface with the username and password created in the previous step:

We now need to install Pterodactyl Wings.
cd..mkdir wingscd wingsvi docker-compose.ymlInsert the following in the compose file, changing the relevant variables:
version: '3.8'services: wings: image: ghcr.io/pterodactyl/wings:v1.11.8 restart: always networks: - wings0 ports: - "8080:8080" - "2022:2022" - "8443:443" tty: true environment: TZ: "UTC" WINGS_UID: 988 WINGS_GID: 988 WINGS_USERNAME: pterodactyl volumes: - "/var/run/docker.sock:/var/run/docker.sock" - "/var/lib/docker/containers/:/var/lib/docker/containers/" - "/etc/pterodactyl/:/etc/pterodactyl/" - "/var/lib/pterodactyl/:/var/lib/pterodactyl/" - "/var/log/pterodactyl/:/var/log/pterodactyl/" - "/tmp/pterodactyl/:/tmp/pterodactyl/" - "/etc/ssl/certs:/etc/ssl/certs:ro" # you may need /srv/daemon-data if you are upgrading from an old daemon #- "/srv/daemon-data/:/srv/daemon-data/" # Required for ssl if you use let's encrypt. uncomment to use. #- "/etc/letsencrypt/:/etc/letsencrypt/"networks: wings0: name: wings0 driver: bridge ipam: config: - subnet: "172.22.0.0/16" driver_opts: com.docker.network.bridge.name: wings0Bring up the Wings container:
docker compose up -dNow we need to do some configuration inside Pterodactyl. Log in to the web interface and click on Administration which should take you to this screen:

We need to configure a node, but first we need to create location. Click on Locations and click on Create New. Fill in details relevant to you.

Now click on Nodes and click on Create New. Again, fill in the details relevant to you.

Now go to the configuration tab for the node you created;

We need to create a config file for the Pterodactyl Wings node:
sudo vi /etc/pterodactyl/config.ymlInsert your config from the screen for the node configuration above. In my case it is:
debug: falseuuid: 3836faf4-a91c-4d1b-90a6-dab48aa6295etoken_id: op9oLbkGJSTNrT3Gtoken: KbLJTJdegWdU2iSRYDu3lyJFY9SZjmjljYP217CZNx30uqGbG6t2KteXVWDFqW2papi: host: 0.0.0.0 port: 8080 ssl: enabled: false cert: /etc/letsencrypt/live/mysubdomain.mydomain.com/fullchain.pem key: /etc/letsencrypt/live/mysubdomain.mydomain.com/privkey.pem upload_limit: 100system: data: /var/lib/pterodactyl/volumes sftp: bind_port: 2022allowed_mounts: []remote: 'http://mysubdomain.mydomain.com'Now we restart the Wings container:
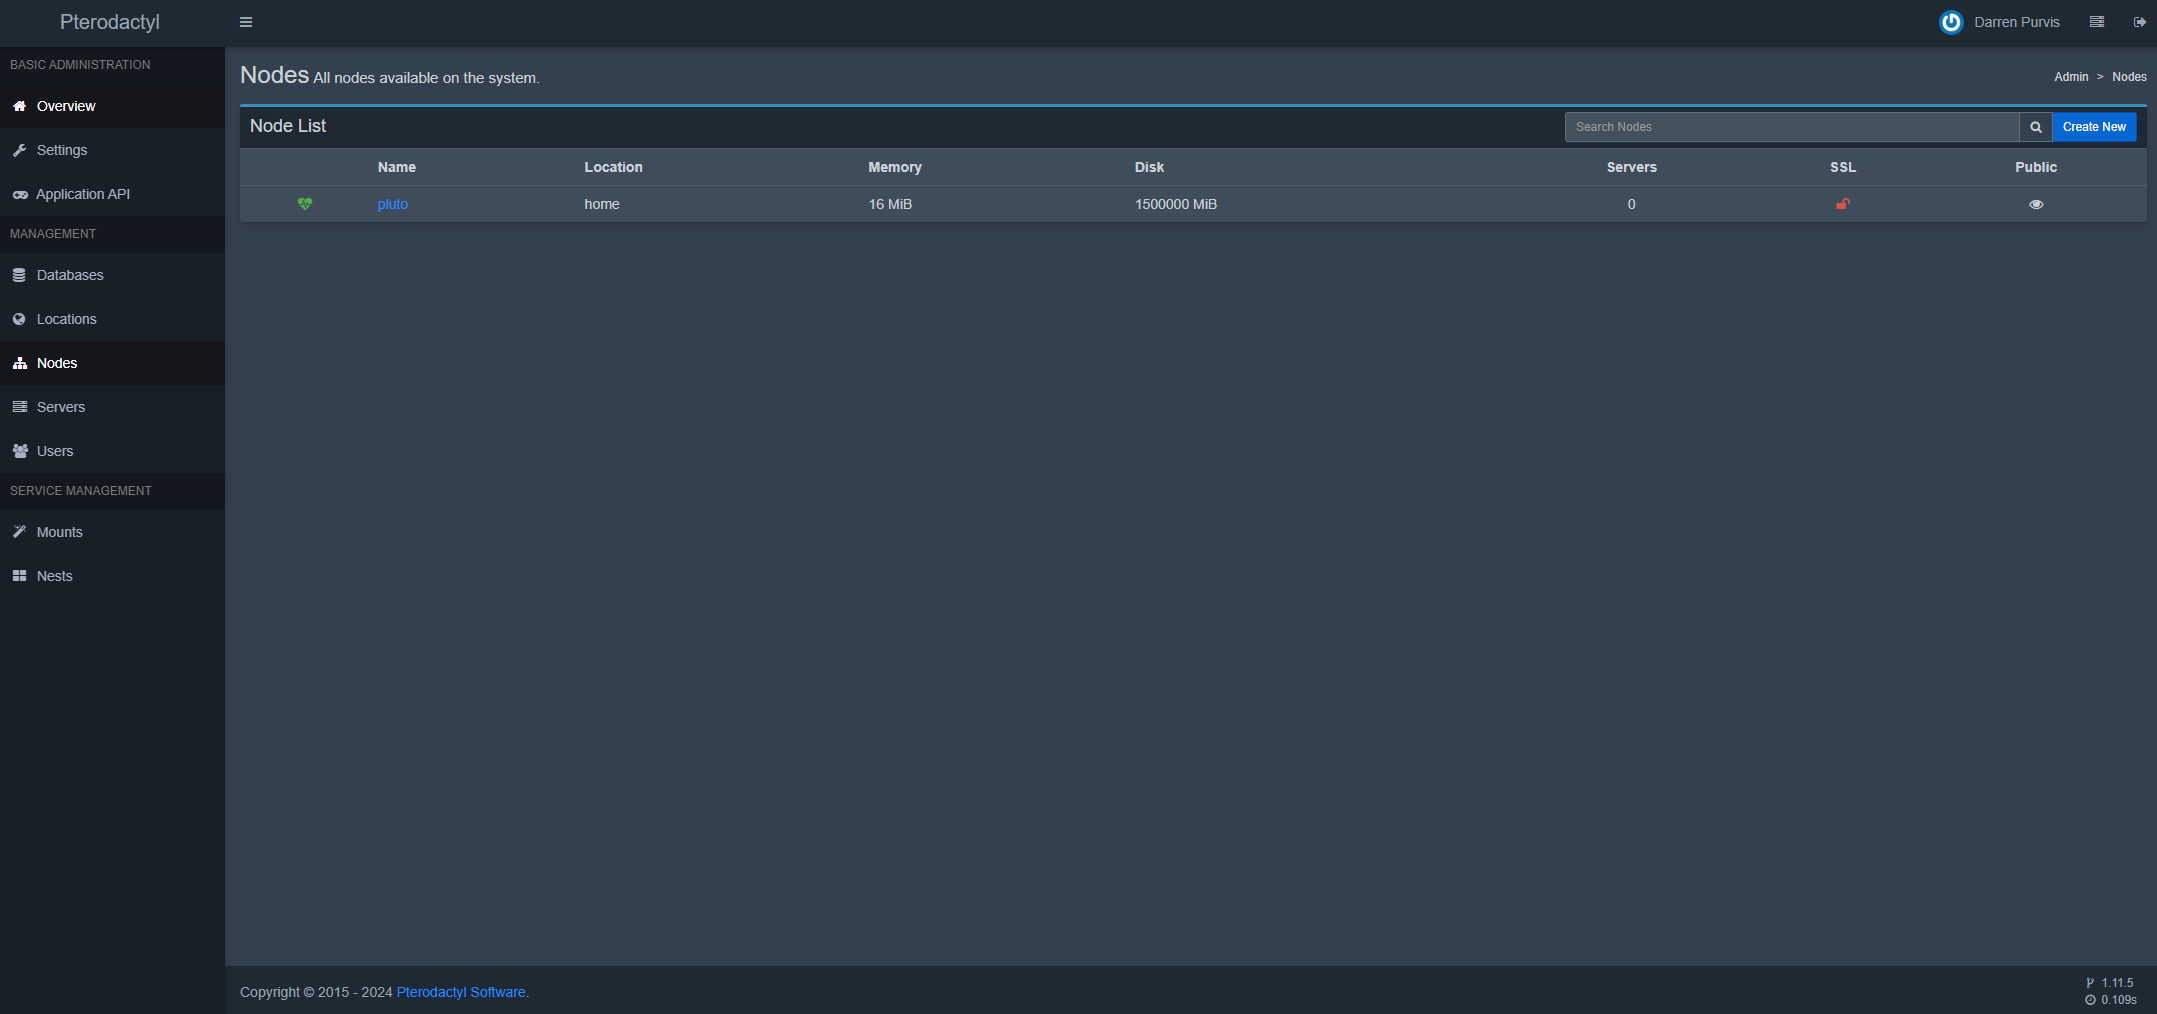
docker compose up -d --force-recreateCheck the Nodes section, as you should now see your node with a green heart next to it:
Next we need to create some IP addresses in the Allocations screen:

Add the IP address of the Pterodacytl Wings server, create an alias and a range of ports. I use 30000-30250. Make sure you pick high ports. You should then get something like this:

You’ll be glad to know that is the majority of the hard work done.
Now we can start deploying some game servers in this node.
Click on Servers and then Create New:

Minecraft is a favourite in my house, so lets configure that:
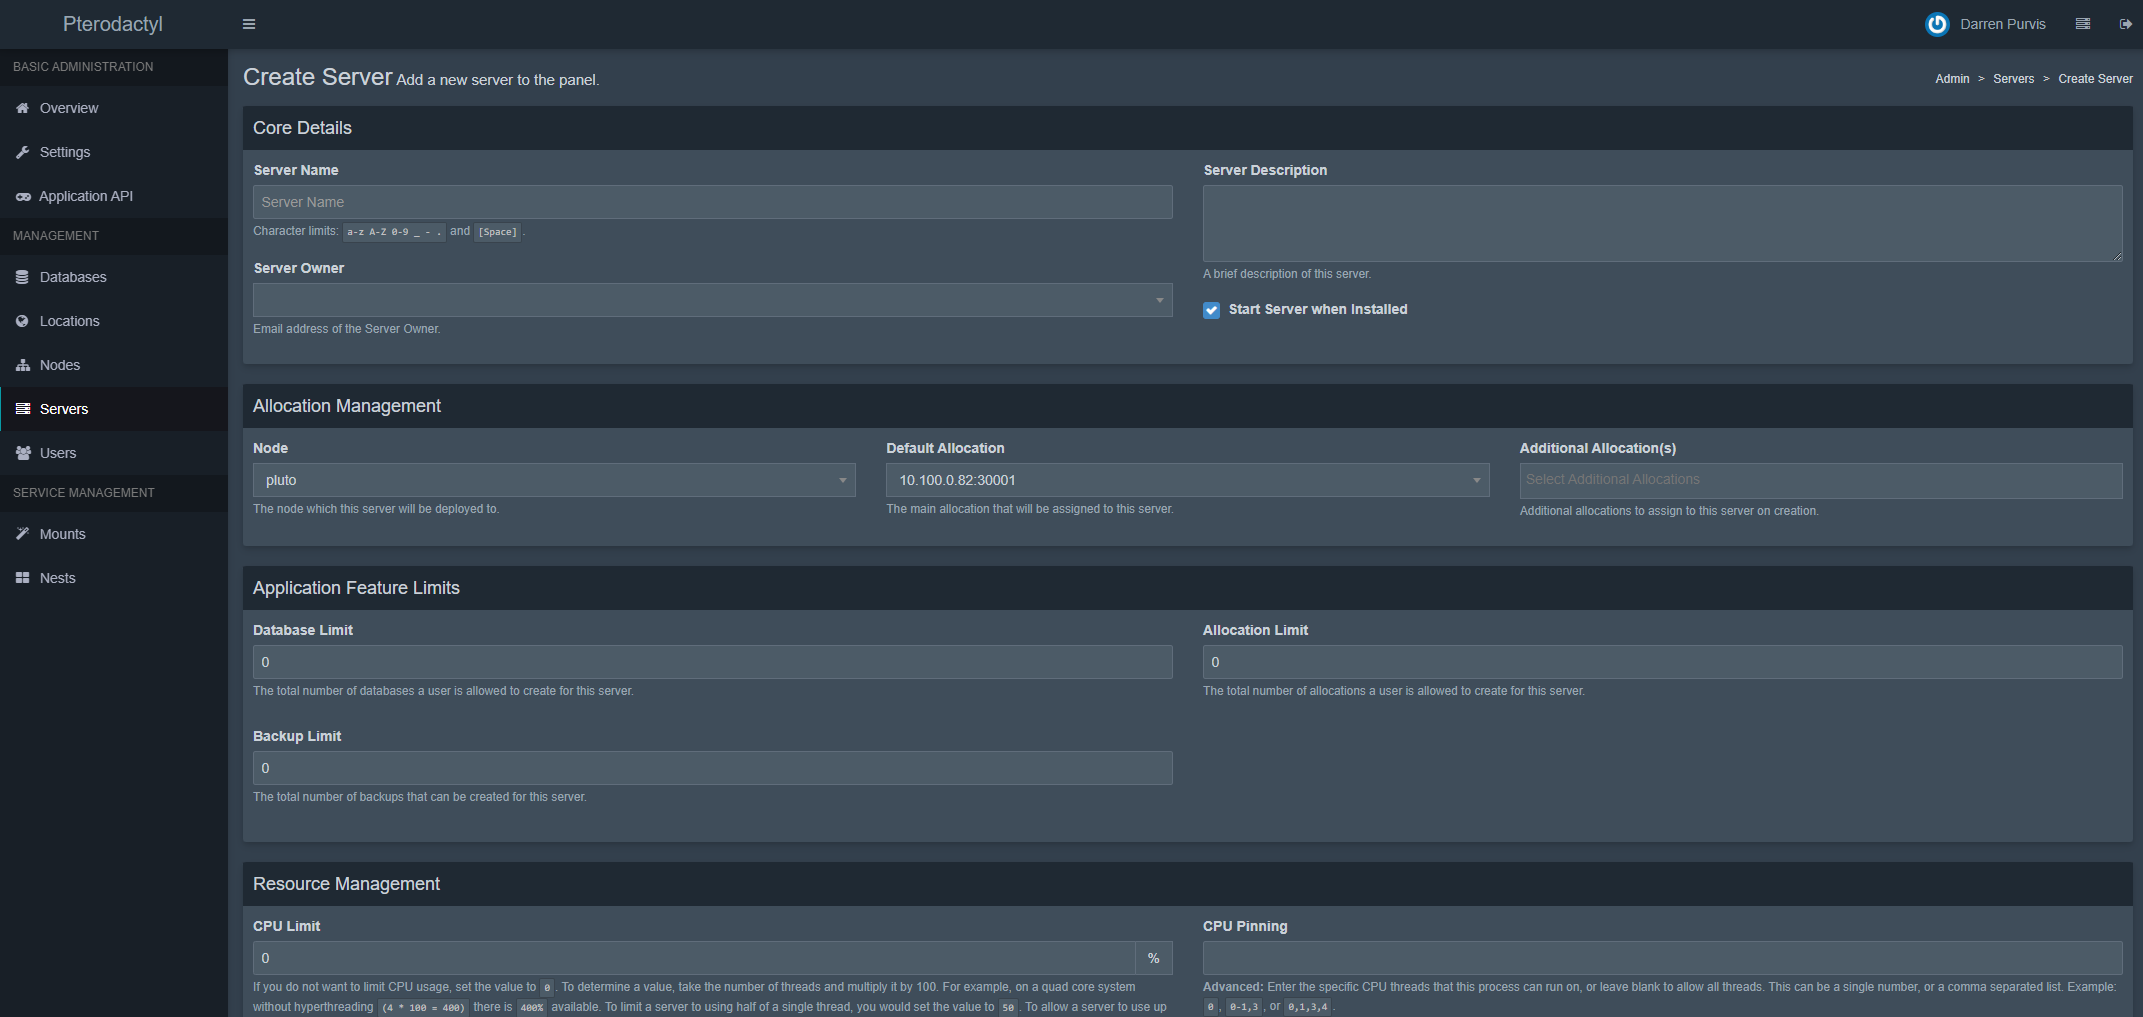
My settings are as follows:
Server name: Minecraft Vanilla
Server owner: <me>
Node and default allocation should be prefilled with defaults
Memory: 2048
Swap: 0
Disk Space: 2048
Nest: Minecraft
Egg: Vanilla Minecraft
Docker Image: Java 17
Click Create Server and you should get something like:

Click on the widget icon just to the left of Delete:

You should see Minecraft starting up. As ever, you’ll need to accept the Minecraft EULA:

You’ll be glad to know, that is that! 😃
The final thing to do is open Minecraft and join the server…

Adding more games servers (Pterodactyl Eggs)
To add more games from the default list. An example of one I wanted to add is Terraria. To do this, go to this GitHub page:
 parkervcp
Click on game_eggs. For the purposes of this, I’m going to use Terraria. Click on terraria > vanilla > egg-terraria-vanilla.json and download that json file.
Inside Pterodactyl Panel, click on Nests and click on Create New:

Create one called Terraria. Now go back to the Nests screen and click Import Egg. Select Terraria as the Associated Nest and then upload the json file previously downloaded.
Now go back and create a server for Terraria following the steps described above. Enjoy!
Leave a Reply