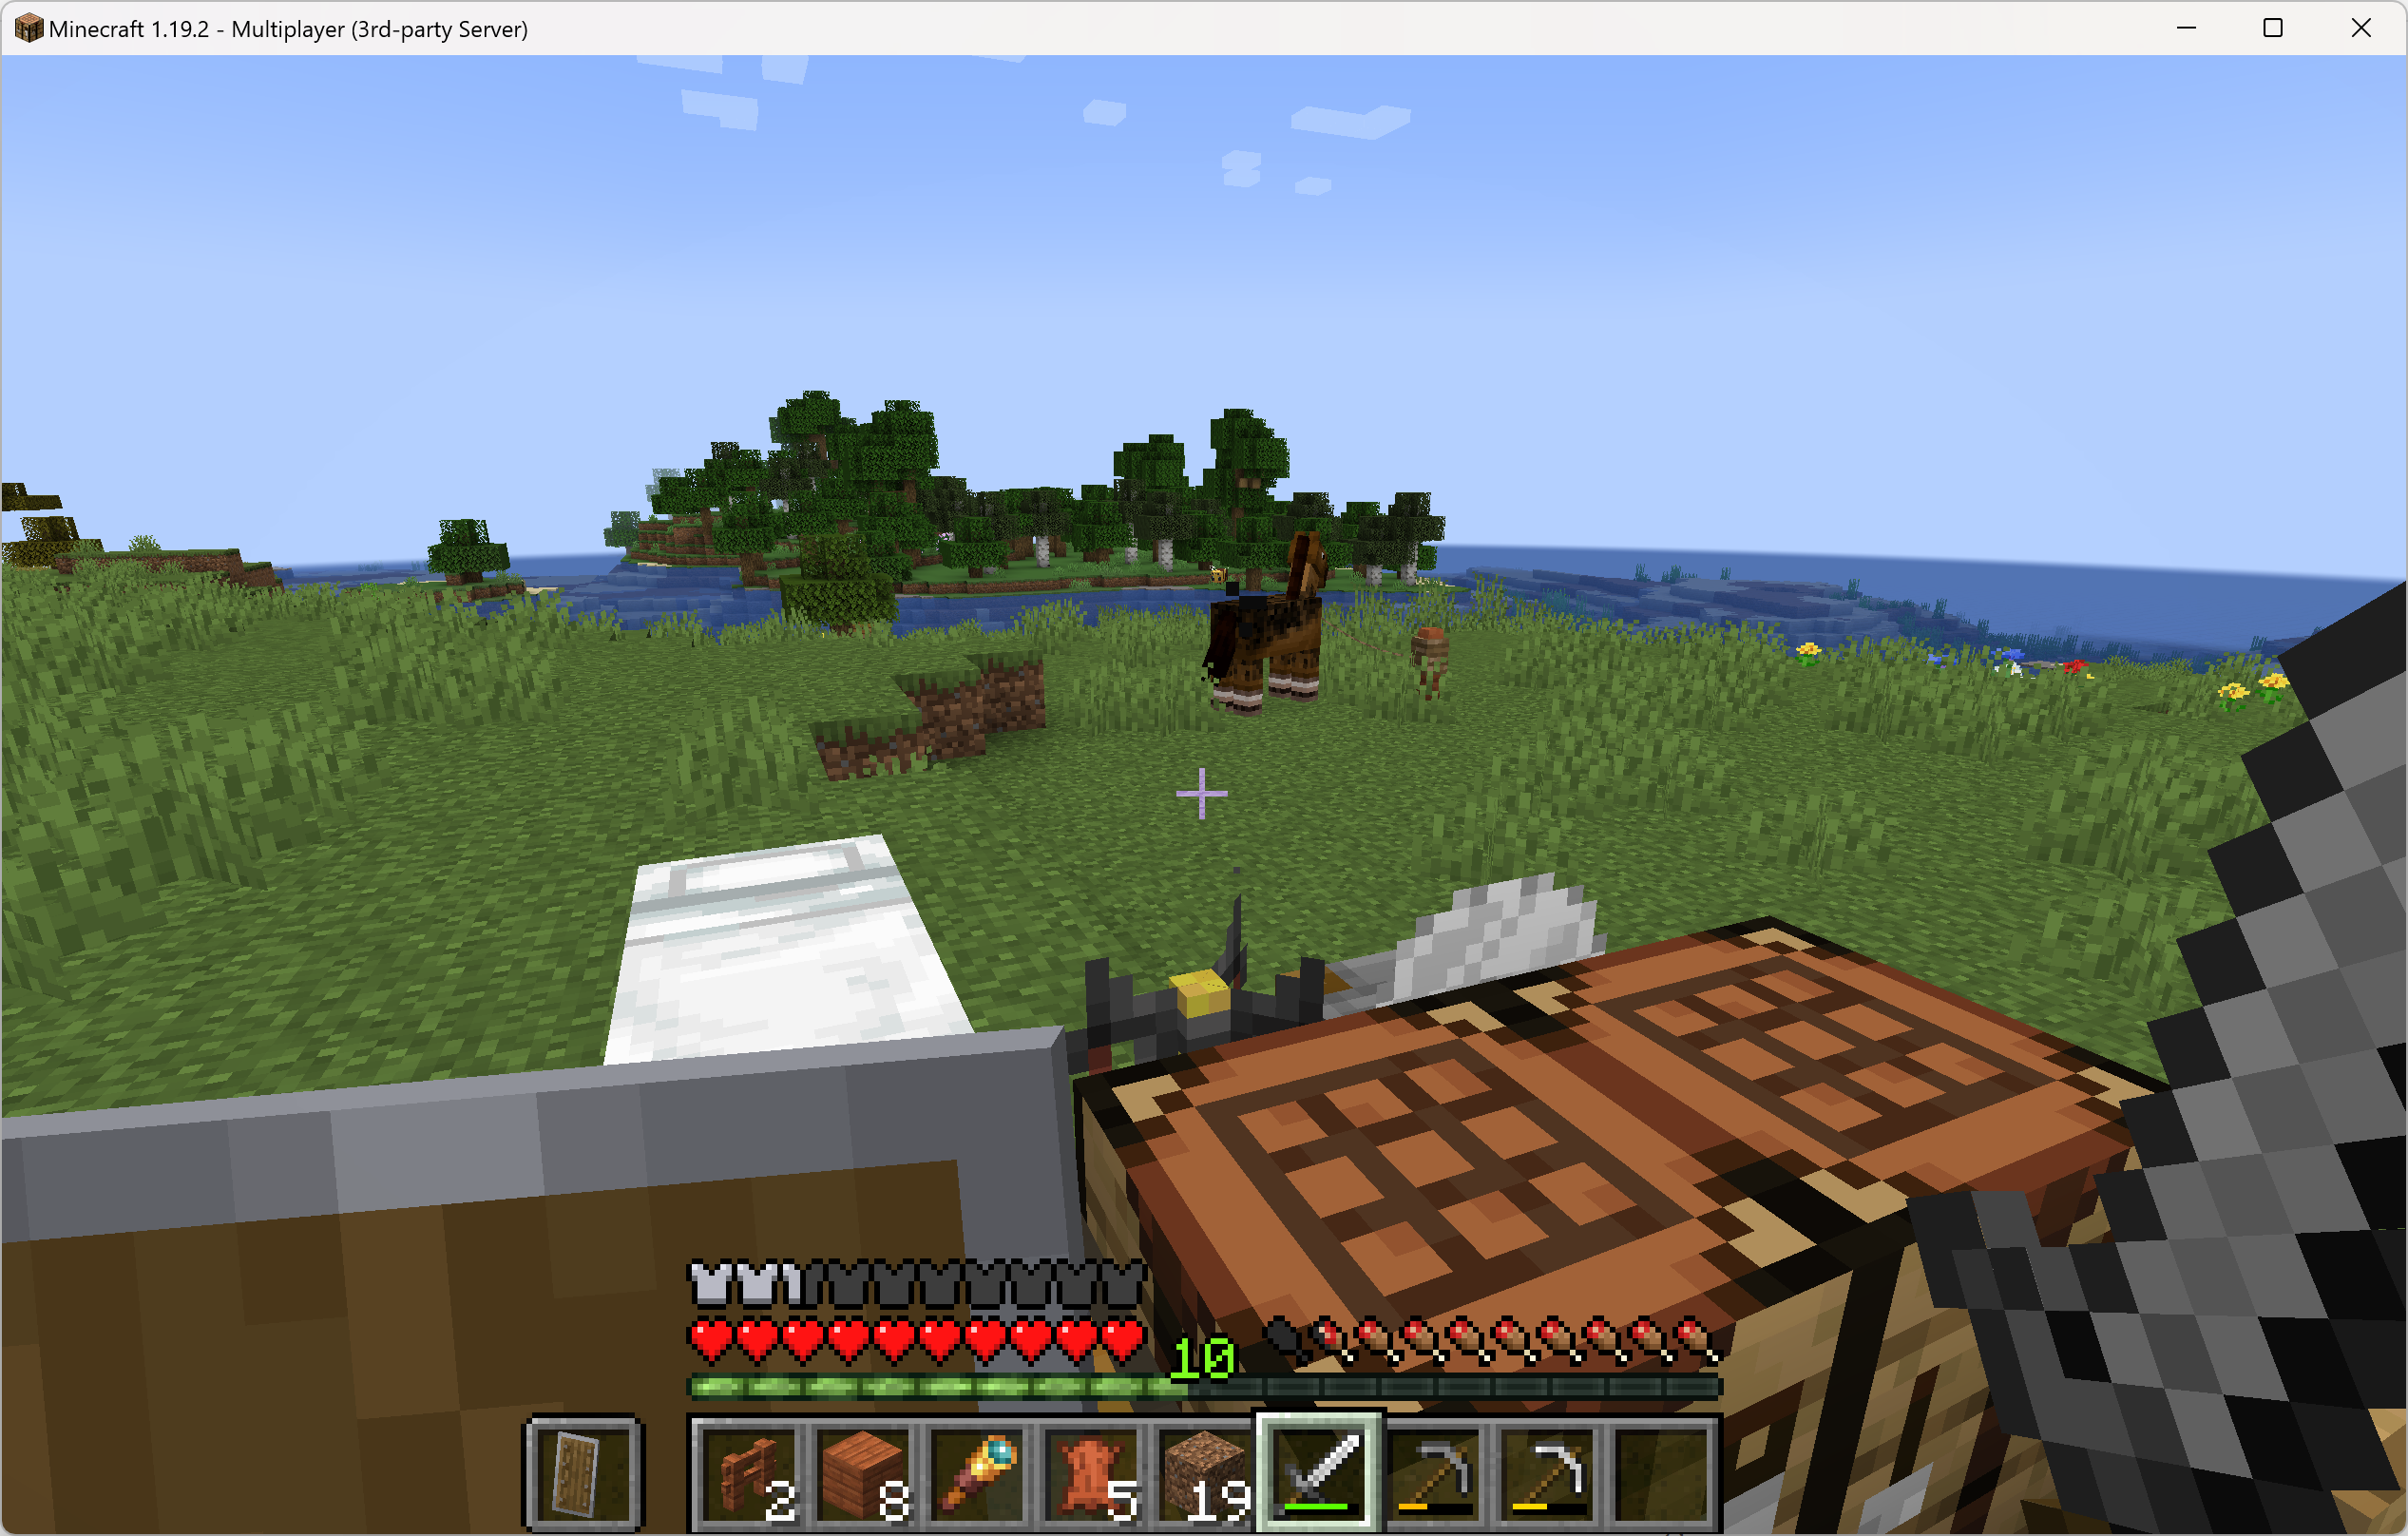
My kids all play Minecraft. With the launcher now including both the Java and Bedrock versions, it means each of them has access to the Java version. There has long been an official Java server version, so they can play together or independently on a standalone server. The best thing is that it gives me an opportunity to spend some time playing with them, even although I’m not very experienced in Minecraft! Here is my guide to setting up a Minecraft Java Edition Server.
Hardware
You can run the server variant on a machine that is capable of running Java. The machine can be a public cloud server (I’ve previously run it on AWS just for practice and experience of using AWS) or a spare physical device you may have to hand. I used an old Intel NUC machine, containing an Intel Celeron N3050 CPU and 8GB RAM, as it wasn’t doing anything – plus it draws a very modest amount of power.
Operating System
I also chose to use Ubuntu Linux as the Operating System, mainly because it is free and also because it is a solid OS. The version I used was Ubuntu Server 22.04.1 LTS. You’ll need to download and install the server and configure the OpenSSH server so that you can run it headless. I installed the minimised version, which is a base set of packages for servers that users aren’t going to log in to (this can be undone later on if you need to).
After you have done the initial install, first we need to update the server:
sudo apt-get upgradesudo apt-get updateJava
Minecraft Java unsurprisingly needs a Java environment to run. There are a few choices here which has is best described in this snippet:
Java
Java is a programming language designed to create programs for the Java Virtual Machine (JVM). The JVM supports many different platforms. By doing this, developers write code for the JVM and any platform supported by the JVM can run the program. Further reading.This section is designed to answer some frequently asked questions about Java and guide you through some decisions regarding Java.
OpenJDK vs OracleJDK
OpenJDK and OracleJDK are very similar. OpenJDK is the official open source reference implementation of Java. OpenJDK is an open source codebase that almost all other JDKs are built on. Excluding packaging, cosmetic and license differences OpenJDK is the same as OracleJDK.Do note that OracleJDK (Oracle’s “OTN”) builds require a paid subscription for commercial and production purposes. This likely includes running a Minecraft server even if it is non-profit. Oracle does provide its own OpenJDK builds, but they are not packed into an installer format for easy use.
JRE vs JDK
JRE stand for Java Runtime Environment. JDK stands for Java Development Kit. JRE is a package tool designed to run Java programs. JDK is a package of tools designed to develop Java programs. The JDK comes with the JRE which comes with the JVM. If you have JDK then you have JRE and JVM. Vanilla Minecraft does not need JDK, but plugins may require it.Headless Java
A headless Java installation is a trimmed down version of Java. It does not have a GUI or mouse/keyboard support. Headless Java is frequently used in Servers or other environments where a GUI is not needed.from https://minecraft.fandom.com/wiki/Tutorials/Setting_up_a_server
I chose to go with OpenJDK headless:
sudo apt install openjdk-19-jdk-headlessMinecraft Java jar file
This is the main executable file that forms the Minecraft server component which at time of writing, the file was minecraft_server.1.19.2.jar.
Lets download it in to the current directory:
wget https://piston-data.mojang.com/v1/objects/f69c284232d7c7580bd89a5a4931c3581eae1378/server.jarUser, Group and Service configuration
I want to set up a linux user and group and have it run Minecraft as opposed to the root user, in line with best security practices.
Create a system user called minecraft and set its home directory:
sudo adduser --system --home /srv/minecraft-server minecraftCreate a group called minecraft:
sudo addgroup --system minecraftAdd the minecraft user to the minecraft group:
sudo adduser minecraft minecraftNext, we need to move the jar file to the minecraft user’s home directory:
sudo cp server.jar /srv/minecraft-serverThe jar file needs to be executable:
sudo chmod +x /srv/minecraft-server/server.jarWe need to change the permissions of the minecraft user’s home directory to the minecraft user and group.:
sudo chown -R minecraft.minecraft /srv/minecraft-serverRather than having to run the server manually with a command, we’ll now set up a service that will start on server boot/restarts and stop on shutdowns. In the minimised version of Ubuntu, I had to install nano first (ignore this step if it is already installed):
sudo apt install nanoLets create the service file and its definition:
sudo nano /lib/systemd/system/minecraft-server.serviceInside this file, past the following in:
[Unit] Description=start and stop the minecraft-server [Service]WorkingDirectory=/srv/minecraft-serverUser=minecraftGroup=minecraftRestart=on-failureRestartSec=20 5ExecStart=/usr/bin/java -Xms1536M -Xmx2048M -jar server.jar --nogui[Install]WantedBy=multi-user.targetWrite the file (save it). Now we are ready to enable the service:
sudo systemctl enable minecraft-server.serviceand then we start it:
sudo systemctl start minecraft-server.serviceWe can check on the status of the service:
systemctl status minecraft-server.serviceThe output should resemble the following – note the error and warnings:
○ minecraft-server.service – start and stop the minecraft-server
Loaded: loaded (/lib/systemd/system/minecraft-server.service; enabled; vend
or preset: enabled)
Active: inactive (dead) since Fri 2022-11-18 18:07:52 UTC; 1min 35s ago
Process: 2689 ExecStart=/usr/bin/java -Xms1536M -Xmx2048M -jar server.jar –nogui (code=exited, status=0/SUCCESS)
Main PID: 2689 (code=exited, status=0/SUCCESS)
CPU: 34.354s
Nov 18 18:07:34 jupiter java[2689]: Unpacking org/apache/logging/log4j/log4j-core/2.17.0/log4j-core-2.17.0.jar (libraries:org.apache.logging.log4j:log4j-core:2.17.0) to libraries/org/apache/logging/log4j/log4j-core/2.17.0/log4j-core-2.17.0.
jar
Nov 18 18:07:34 jupiter java[2689]: Unpacking org/apache/logging/log4j/log4j-slf4j18-impl/2.17.0/log4j-slf4j18-impl-2.17.0.jar (libraries:org.apache.logging.log4j:log4j-slf4j18-impl:2.17.0) to libraries/org/apache/logging/log4j/log4j-slf4j18-impl/2.17.0/log4j-slf4j18-impl-2.17.0.jar
Nov 18 18:07:34 jupiter java[2689]: Unpacking org/slf4j/slf4j-api/1.8.0-beta4/slf4j-api-1.8.0-beta4.jar (libraries:org.slf4j:slf4j-api:1.8.0-beta4) to libraries/org/slf4j/slf4j-api/1.8.0-beta4/slf4j-api-1.8.0-beta4.jar
Nov 18 18:07:34 jupiter java[2689]: Starting net.minecraft.server.Main
Nov 18 18:07:47 jupiter java[2689]: [18:07:47] [ServerMain/INFO]: Building unoptimized datafixer
Nov 18 18:07:51 jupiter java[2689]: [18:07:51] [ServerMain/ERROR]: Failed to load properties from file: server.properties
Nov 18 18:07:51 jupiter java[2689]: [18:07:51] [ServerMain/WARN]: Failed to load eula.txt
Nov 18 18:07:51 jupiter java[2689]: [18:07:51] [ServerMain/INFO]: You need to agree to the EULA in order to run the server. Go to eula.txt for more info.
Nov 18 18:07:52 jupiter systemd[1]: minecraft-server.service: Deactivated successfully.
Nov 18 18:07:52 jupiter systemd[1]: minecraft-server.service: Consumed 34.354s CPU time.
The error was due to no properties file existing the first time the server started. However, by virtue of starting the Minecraft server, a default properties file was created and now exists in the minecraft user’s home directory. The warning is because we need to access the EULA. Again, this file didn’t exist until the first start of the server. Let’s address these issues. First we need to accept the EULA:
sudo nano /srv/minecraft-server/eula.txtEdit the line that contains “eula=false” to read “eula=true”, write (save) the file and exit it.
The next part isn’t essential, but there are certain properties that we can change before restarting the server:
sudo nano /srv/minecraft-server/server.propertiesThe default settings are pretty good, but the main things you’ll want to change is the ‘message of the day’ (MOTD) as it is what your server will appear as in Minecraft:
motd=Whatever name you wantIt can include escaped unicode characters, a list if which you can find here.
Write (save) the file and then we are good to start the server again:
sudo systemctl restart minecraft-server.serviceThe server should start without error this time. We want to check all is well by looking at the server log:
sudo tail /srv/minecraft-server/logs/latest.logYou should see output similar to:
[18:23:37] [ServerMain/INFO]: Environment: authHost=’https://authserver.mojang.com’, accountsHost=’https://api.mojang.com’, sessionHost=’https://sessionserver.mojang.com’, servicesHost=’https://api.minecraftservices.com’, name=’PROD’
[18:23:45] [ServerMain/INFO]: Loaded 7 recipes
[18:23:46] [ServerMain/INFO]: Loaded 1179 advancements
[18:23:50] [Server thread/INFO]: Starting minecraft server version 1.19.2
[18:23:50] [Server thread/INFO]: Loading properties
[18:23:50] [Server thread/INFO]: Default game type: SURVIVAL
[18:23:50] [Server thread/INFO]: Generating keypair
[18:23:51] [Server thread/INFO]: Starting Minecraft server on *:25565
[18:23:51] [Server thread/INFO]: Using epoll channel type
[18:23:51] [Server thread/INFO]: Preparing level “world1”
Eventually the log will start to show the world amp building:
[18:28:28] [Worker-Main-5/INFO]: Preparing spawn area: 0%
[18:28:28] [Worker-Main-5/INFO]: Preparing spawn area: 0%
[18:28:29] [Worker-Main-5/INFO]: Preparing spawn area: 1%
[18:28:32] [Worker-Main-5/INFO]: Preparing spawn area: 2%
[18:28:32] [Worker-Main-5/INFO]: Preparing spawn area: 2%
[18:28:32] [Worker-Main-5/INFO]: Preparing spawn area: 2%
[18:28:32] [Worker-Main-5/INFO]: Preparing spawn area: 2%
[18:28:32] [Worker-Main-5/INFO]: Preparing spawn area: 2%
[18:28:32] [Worker-Main-5/INFO]: Preparing spawn area: 2%
[18:28:32] [Worker-Main-5/INFO]: Preparing spawn area: 2%
[18:28:35] [Worker-Main-5/INFO]: Preparing spawn area: 14%
[18:28:35] [Worker-Main-5/INFO]: Preparing spawn area: 14%
[18:28:35] [Worker-Main-5/INFO]: Preparing spawn area: 14%
[18:28:35] [Worker-Main-5/INFO]: Preparing spawn area: 14%
[18:28:35] [Worker-Main-5/INFO]: Preparing spawn area: 14%
After a few minutes, you should have a fully working server that you can now access via Minecraft Java Edition:

Click on Play and then Multiplayer. Click on Add Server and then add the IP address of your server and it should then add it:

…and then launch the server.
Hopefully this helps you build and run your own Minecraft Java Edition server at home. Please leave any comments or questions.
I want to thank the Minecraft Wiki website from which I stitched together a number of the steps in this guide.
Leave a Reply